Where to begin? Looking back at the pictures of my last post (which was in April, it's now August...) a lot has happened. So much! Between shopping for a zillion lights (and still not done), figuring out dimensions, assigning electrical plans, determining the right type of stone, the width of countertops, etc etc etc it's never ending and I lost time for the blog. Re: the ICF portion, once the "stick build" interior walls went in, it wasn't nearly as complicated and also it was much easier to edit mistakes and make changes, etc.
Things That Went Awry:
1. My architect and I agreed that a 2 x 6 interior wall would give the house that "classic solid" feel and would complement the thickness of the ICF walls/windows. I am SO glad we did this regardless of the extra cost - the interior looks great and it just has such a more authentic feel that matches the thickness of the windows, etc. That being said, my architect also specified 10x12's for my ceilings which was completely unnecessary and ultimately was waaaaaaaaaay over my lumber budget. My builder apologized for not catching it, what can you do but at least he's honest about it. So, I have huge ceiling joists that are pointless and hidden behind drywall ceilings, but on the positive side it also makes the house that much more secure in a tornado incident so there's the silver lining of this extremely costly error.
2. No one explained to me the guidelines for the electrical plan budget, and I innocently went forward to create a page per room that outlined every detail of the plan: where the outlets should go, how many outlet openings in each receptacle, which switch goes to what, adding sconces, etc. etc. Then I was sacked with a $10K electrical overage and about had a heart attack. In the end we negotiated the cost down but I had no idea this wasn't the norm and everyone agreed it was a severe communication gap all the way around. That being said, my house will be beautifully lit with a ton of sconces, etc!
3. Stain-grade materials. Because we are building the interior in a more "spanish colonial" fashion (i.e. neutral walls, not much molding or trim, and dark windows, baseboard and doors) we looked forward to saving the cost of those materials. After all, we have NO casing around our doors, NO crown molding or extra trimmings, etc. Just a very stark look. But as it turns out, when you are doing stain-grade materials instead of paint-grade materials (which is usually MDF), that will actually double your budget! So that was a huge surprise to everyone involved. Not many homes in this area are done in this way, so it wasn't anticipated and came as a big blow but what can you do. I had to compromise on pine (not poplar) doors to stain (but they turned out nicely dark so that's good at least) and our baseboard is costing a small fortune. Lesson to be learned? Stain-grade materials will cost you more than paint-grade, even if it's not a lot of it.
I'm sure there is more, but these were just the major issues that stick out in my memory during this process.
Things That Are Good:
1. I'm a natural light fanatic and we added interior transoms for any rooms or passages that did not have a window or natural light feeding into it. I also added transoms above the doors in the main hallway that does not end in a window (I'm a huge fan of Susanka's concept of "light to walk toward", which I did not have in this space) and it made a big difference. I will post pictures after the finished product but what a difference a piece of glass makes on the interior walls when natural light is at a minimum.
2. I added a tiny "mail drop" desk for charging phones, keeping my purse, mail, etc INSIDE my pantry corner. That way all the junky stuff can still be dumped in the kitchen but is hidden behind a door so that there's no clutter. Very happy about this!
3. The splayed windows in my home are beautiful. Beautiful. So many people comment on them, including the ICF subcontractor who had never seen it before (!). Highly recommend this for ICF walls. In hindsight, there is a tiny place on the top right exterior of my home where I wish I had done the OPPOSITE of this, and splayed the EXTERIOR to sneak in a tiny recessed window in that spot. You can see what I mean in this example here (second picture down, window at top left): http://www.thingsthatinspire.net/2009/12/on-market-in-atlanta-beautiful-french.html . Sigh!
4. Natural light and views. The way each window was planned out according to the views and how the light played into the room makes the interior so nice. It's the first thing people comment on. Placing the windows so that it creates a vignettes of a view to exclude anything unsightly gives the house such a great feel, and even on a cloudy day the light streams in. It's very welcoming.
5. Kerf. I had no idea what a kerf drywall return was, but after much research looking at rounded-drywall techniques, my builder convinced me that this was the best way to go for the sleek rounded corners and minimalistic look I so love. I felt apathetic as to how it would be done, but I'm so glad he was insistent that kerf was the way to go. He was spot-on, and the kerf returns around my casing-less doors look fantastic. Worth the extra $$ and time (though my drywallers might disagree!) :-)
6. We added a few true-radius arches in the main hallway passage. With the 2x6 walls and rounded drywall, it really adds charm.
7. If you have kids: originally I had a tub/shower combo in my 6-year old son's bathroom. While at a friend's, she told me that her son's bathroom (same age) is a shower/tub combo and now her son always goes downstairs to shower in their nice master shower instead. I thought long and hard about this but it makes perfect sense. We edited the already-installed plumbing for the tub, and now my son's bathroom will have a very very nice shower instead, that I'm sure will get much more use to come. We only have one tub (a freestanding, "claw foot" type downstairs in the 2nd master) in the whole house and I'm fine with that. We kept records of the original tub plumbing installation in case this is ever an issue on resale (say, someone with very young children), so that the area could easily be converted back to a shower/tub combo without much effort. I'm so glad I didn't put a normal shower/tub combo in there, after all.
That's about all I can come up with via memory right now.
The rest of the progress can be told in pictures...
----
OLDER PICTURES
Roof is on:

Here is how an arched window is fitted into an ICF wall - the most economical way to go is to have the arch done in wood and then spray foamed after the fact:

My completely over-the-top huge ceiling joists. A good view of the splayed windows in the upper portion of the great room. Notice how the top splay is flat, directing the light downwards. It casts great shadow effects on the wall during sunset time, too:

The arches inside:

The foyer where the steps go above the front door. This was SO complicated especially with Codes. So much so that we are in a dilemma with the front door exterior now since everything had to be edited on-the-fly as they went along. Still, it will be charming in the end, at least on the inside! Also another huge splayed window - they drill holes in the wood splay surround and spray foam inside of it:

The great room window. This was the old staircase and we had edited the window placement on the fly once the house was up, and made it lower than on the original plan. Consequently, I decided the banister blocked the window too much, so the framers ripped the whole railing wall down, I gained the under-the-stairs space as part of the great room, and this will now be a glass railing to enable the view of the blue skies that the window gives. A huge splurge but the effect should be great!

Check out the sloppy window surround. This is what happens with the ICF company edits the matching window above it, but doesn't match the window below it and it ends up looking "off" outside. Concrete was therefore chopped away, a wood frame was built, etc. You'd never know it now that the drywall is done. Not fun. Side note: someone had asked me about the corner window dilemma - this is how it turns out, with the space between the windows having almost a "double" line, and the top and bottom portion having one clean line. We couldn't go to the expense of having steel made to do a completely clean corner, so went with the ICF pieces butting up against each other at the very minimum allowed for support. It's a little quirky but it's something myself and my builder only noticed and nothing too dramatic.

The great room two-way fireplace is up:

RECENT PICTURES:
To the left is the kitchen sink window. To the right is the great room. Beam is added simply for interest, serves no purpose otherwise.

Back of house with the brick & Recote color on. I love the back of the house - wish HOA would let me do something more this modern "California" style but oh well. Screened porch not on yet:

Street view of house. It's embarrassing that the house looks so huge from the front... it's a very looong house designed for the lot views, in that it is only 1-room deep in more than half of it, but from the front it looks bigger than I would prefer. I was also displeased with the left "wing" looking so vast and plain due to the fact that we had to edit the original slab to a crawl that increased the height by 6-12 feet in some places. I'm compensating for this by adding a huge windowbox on that lone big window and then we'll add a higher berm of landscaping on the left "wing" to even out all that excess brick space. I'm thinking when it's all said and done it should look pretty good but we'll see...

Stone going on the window arches. I'm not happy with the weird arch over the front door but have agreed to wait until the entire front patio is stoned before we address that quirky area again. It's been redone 3 times now:

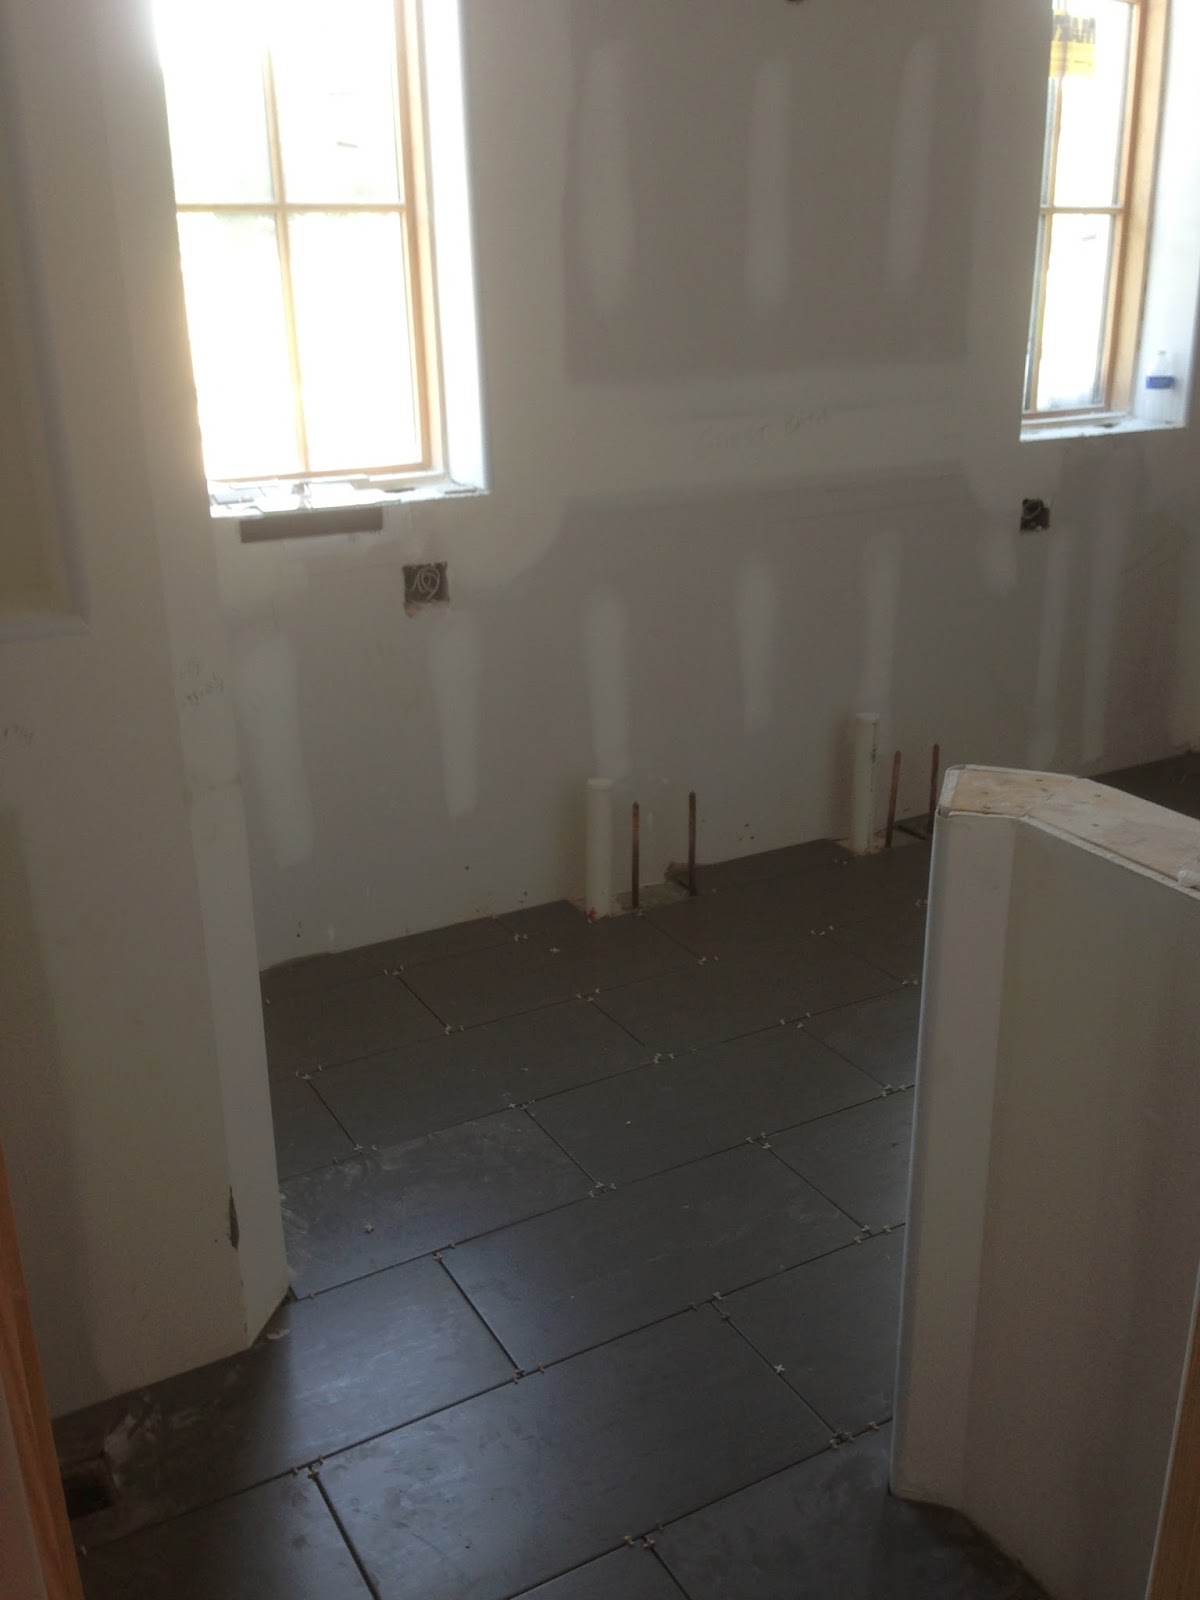
Guest bathroom tile is in:
Foyer travertine tile is in:

Kitchen cabinets arrived. It's going to be a very tricky job since they have to hang the cabinets first, and THEN do the 2 stone walls in the kitchen, not to mention I have an infinity windowsill that will be my countertop. Lots of meticulous details. Below is floor sample, cabinet, white quartz and wood shelf:

Laundry tile is in. This is the most colorful thing in the house:

Once the lot was officially cleared with all the brush removed, I was in awe of how truly large (and flat - yay!) our backyard is, especially for a subdivision:

There's a brief update of the last few months!
The exceptional length is 4x6 for Opti Memory virtual photo printing via a long way. This length is middle size, suitable for both very high and really low nice cameras. For this size, most of the poorer cameras might be able to nevertheless produce right consequences, plus of path, the high pleasant cameras ought to produce exquisite outcomes for this size.For more ==== >>>>>> http://realcemasculinobr.com/opti-memory/
ReplyDeleteAn motion with the aid of the FCC towards Blackcore Edge Max such an advertiser can be not likely to help the customer. If the advertiser makes a deal with the FCC, at the same time as this type of agreement may be in the hundreds of thousands of greenbacks, the money will in reality visit the government and the advertiser will likely really promise in no way to make such classified ads once more.For more ==== >>>>>> http://www.healthsupreviews.com/blackcore-edge-max-review/
ReplyDeleteThis means that if you need to only work while your children are at school, you have this option. House Cleaning
ReplyDelete